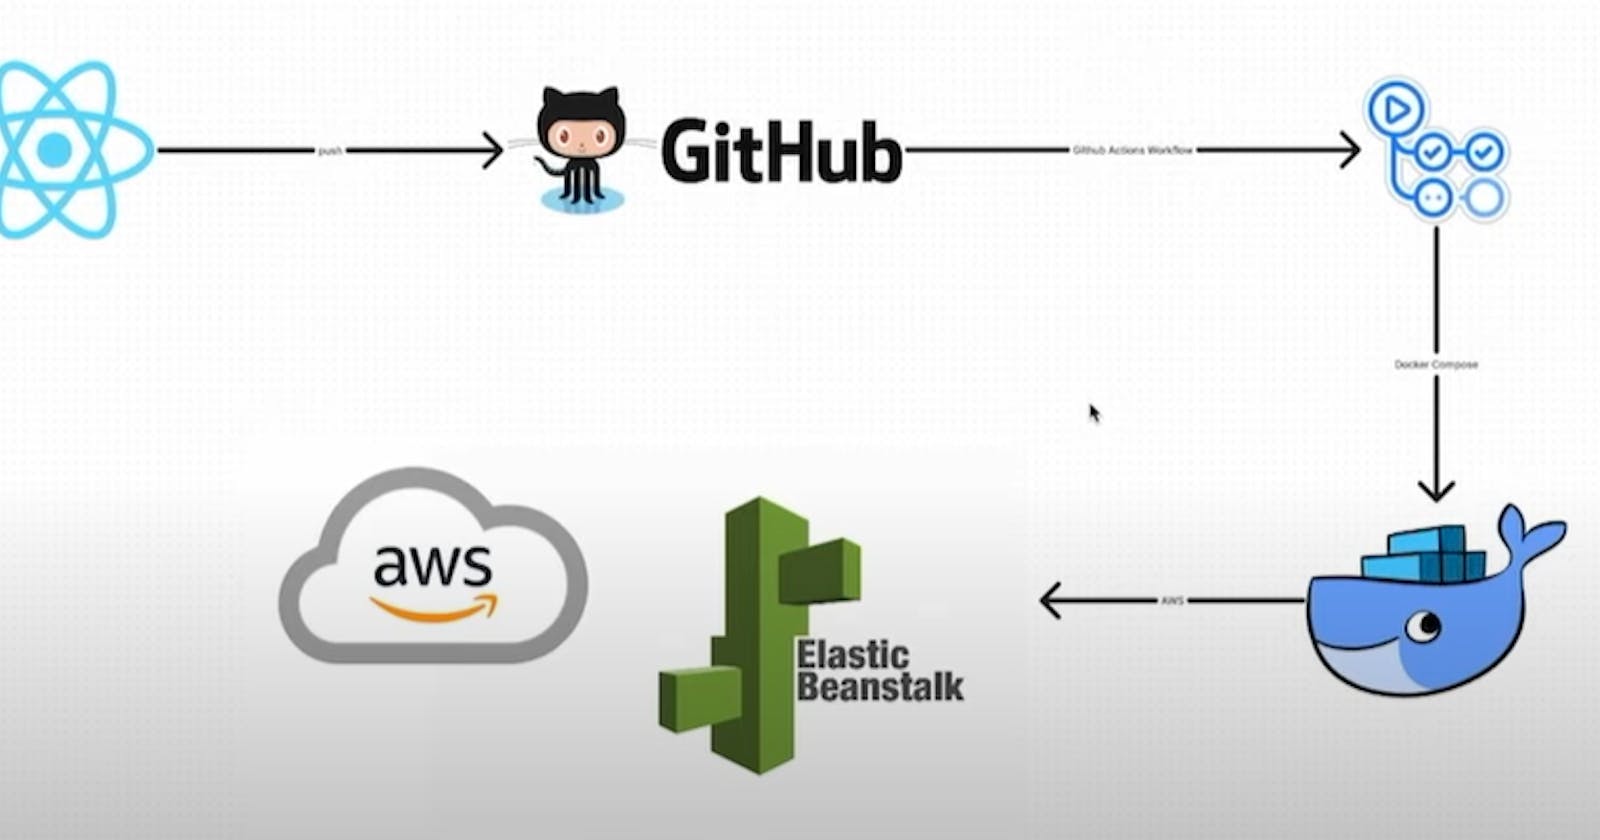
Complete CI/CD with GitHub Actions for React application | Deploy React app to AWS Elastic Beanstalk


Table of contents
- Step 1: Clone the source code
- Step 2 : Install docker
- Step 3 : Create a Multi-Stage Dockerfile for our application
- Step 4: Building Docker Image
- Step 5: Running Docker Container
- Step 6 : Configure Elastic BeanStalk
- Step 7: Configure CI/CD pipeline with GitHub Actions
- Step 8: Trigger GitHub Action CI/CD
- Step 9 : Checking our Achievement
- Conclusion :
Hello Learners,
Hope you are all safe and doing well. Let's start the Project.
Note: For this project, we will use the "Ubuntu" machine. Commands may be different if you are using a different OS.
Step 1: Clone the source code
If you are using Ubuntu Machine, Git will be pre-installed. Clone the repository by using 'git clone' command and move into there.
We shall only work in the same directory for the duration of this project. The reason you will understand at last stage.
git clone https://github.com/sitchatt/AWS_Elastic_BeanStalk_On_EC2.git
cd AWS_Elastic_BeanStalk_On_EC2
Step 2 : Install docker
After cloning the code, do ll or ls and you will find a shell-script called docker_install.sh to install and enable docker for you. To run the code, you must first make it executable.
Run the commands listed below, then wait until Docker is installed and running for you automatically. 😁
chmod +x docker_install.sh
sh docker_install.sh
(Try sudo if you face any error)
Step 3 : Create a Multi-Stage Dockerfile for our application
Now, let's understand the requirement first. We require node to be installed and running in the background in order to run the react application.. Also, we will need nginx to serve the requests which will help us to access the application after deploying in EB.
Let's create a multi-stage docker file accordingly.
- Write a Dockerfile with the following code:
FROM node:14-alpine as builder
WORKDIR /app
COPY package.json .
RUN npm install
COPY . .
RUN npm run build

FROM nginx
EXPOSE 80
COPY --from=builder /app/build /usr/share/nginx/html
Explanation :
This Dockerfile has two stages. The first stage builds a web application with NPM using the official Node.js 14 Alpine image. The second stage serves the constructed web application on port 80 using the official NGINX image. The built application files from the first stage are copied to the second stage, which is the final image, that can be used to run the web application in a Docker container.
Step 4: Building Docker Image
Now it's time to build Docker Image from this Dockerfile. To create the Docker image, run the command below.
sudo docker build -t <provide_image_name> .
Step 5: Running Docker Container
sudo docker run -d -p 80:80 <image_name>
Check running docker container with docker ps command.
Utilising ec2 public_ip on port 80, you can also confirm that the application is active.
Step 6 : Configure Elastic BeanStalk
Go to the AWS Elastic BeanStalk Service.
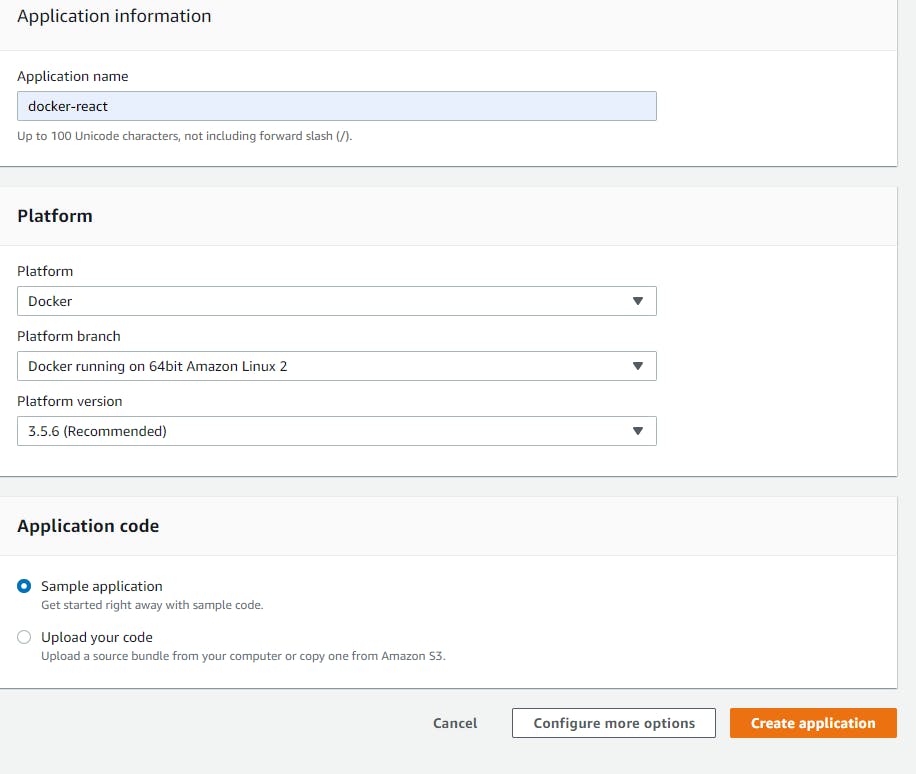
Click on "Create Application"

Provide the details such as
Name = "<Any name>", Platform = "Docker", and select "Sample Code".Sample code is nothing but a basic code, provided by AWS, which is a very basic application to test our flow; and later we can modify it accordingly and give our code.Now Click on "Create Application" .
It will take some time ( nearly 5 min )⏰ You can relax and have some water🥤 till it finishes.
You can see that it's also establishing an environment for the application in the environment section.
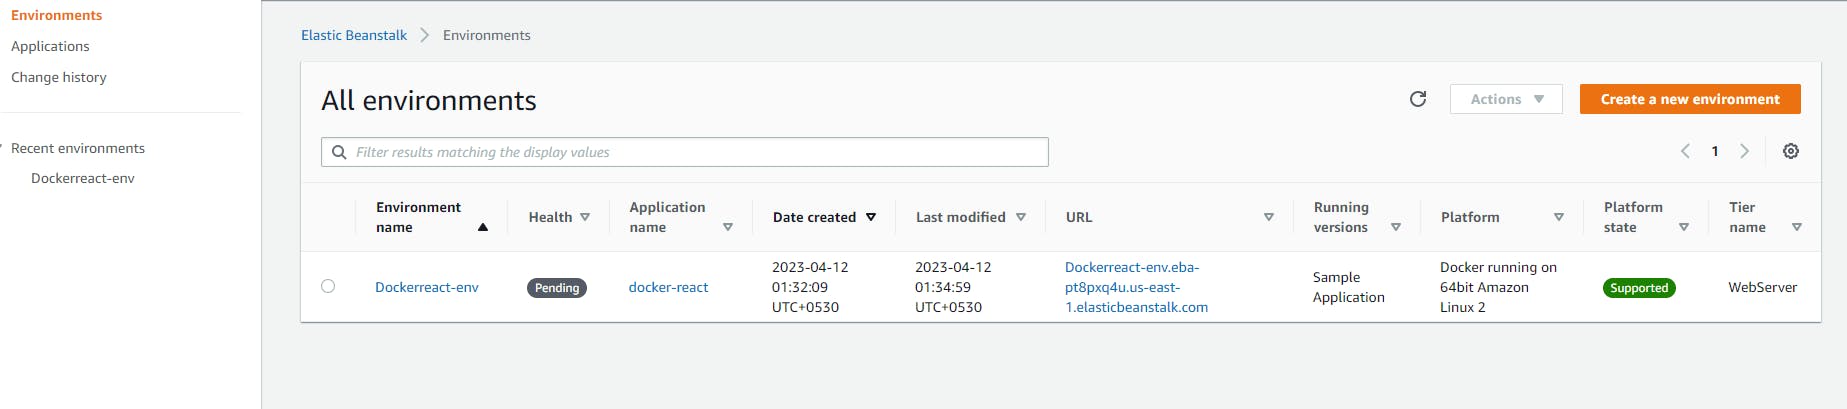
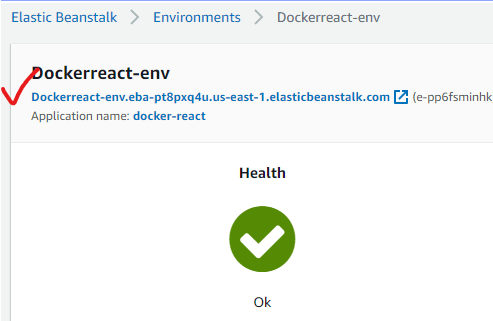
All right !! 🎉 Your environment is Up now. The sample application is deployed on Docker.
AWS EB will continuously monitor our environment and show us the status. As of now, it's HEALTHY.
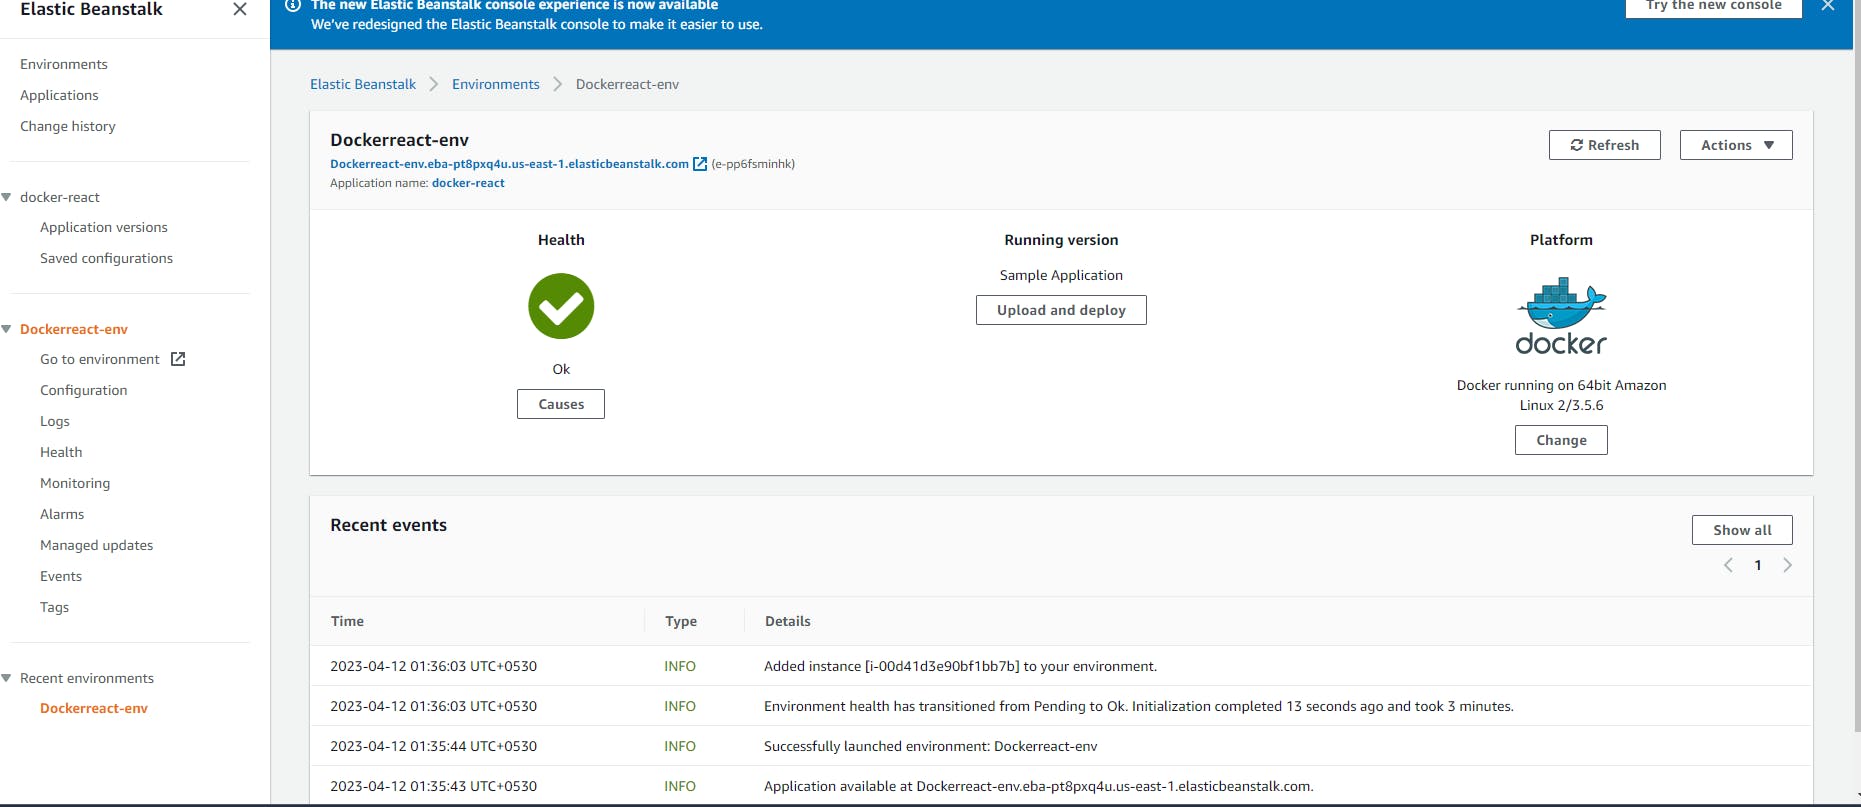
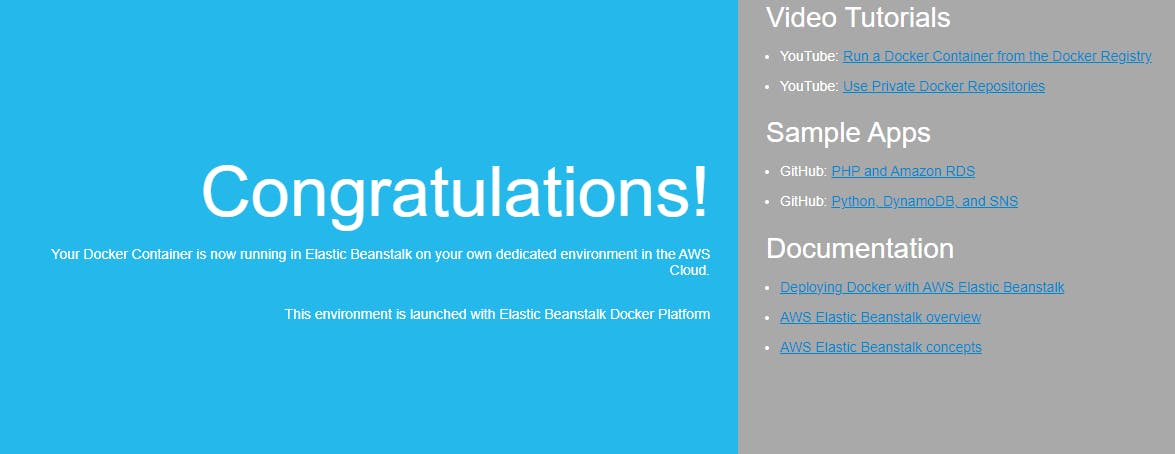
- To access the sample application, click on the link shown above the "Application name" .
It should look like this.
Step 7: Configure CI/CD pipeline with GitHub Actions
For CI/CD, we will be using GitHub Actions here. If you wish to use something different, you can create accordingly and post on LinkedIn mentioning me/us. Will be happy to see your talent! ❤️
As you have cloned the source code, you should also have the github action file. Search for the file named "deploy-react.yaml" . Take the file's complete path.
create a nested folder named ".github/workflows". Make sure you use the correct name.
Copy/Move the "deploy-react.yaml" folder under ".github/workflows"
sudo mkdir -p .github/workflows
cd .github/workflows
sudo cp <file_path>/deploy-react.yaml .
Make sure to check/update the code on these parameters: '* *Branch Name\,* **Application Name,\ *Environment Name,\ *AWS Access Key,\ *AWS Secret Access Key, \ *Existing S3 Bucket name,\ *Region'**.*

✔️You can specify in which branch you wish to configure the hook; in my code, that's "main".
✔️For added security, we have used GitHub Secrets as it is recommended not to put direct credentials on code. You can also put your secrets openly in code.
✔️Application name and Env Name you can get from EB console.
✔️EB will automatically create an S3 bucket to store artifacts while deploying.
You can check the s3 name and update accordingly.
Also, make sure the same user (of which you have given the access key details) has amazon s3 full access permission. For this, you can check IAM.

Adding secrets to GitHub Actions (Optional) :
- in GitHub repo, Go to Settings

- Select Secrets > Actions > New repository secret, from the menu on the left.
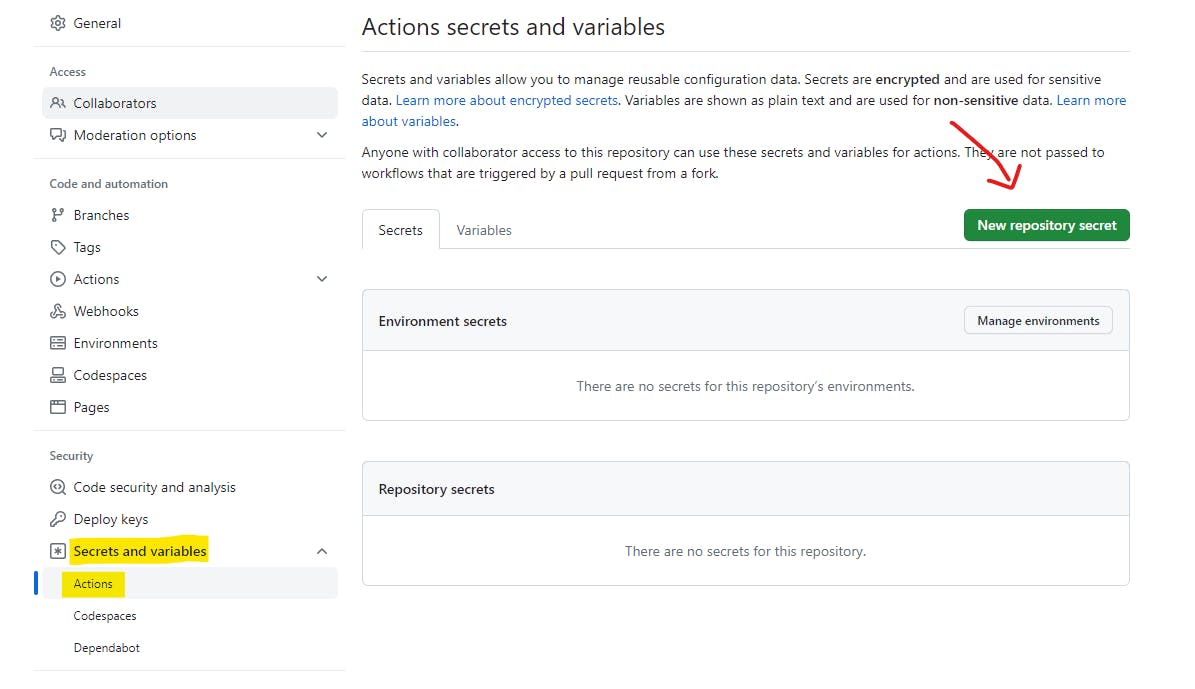
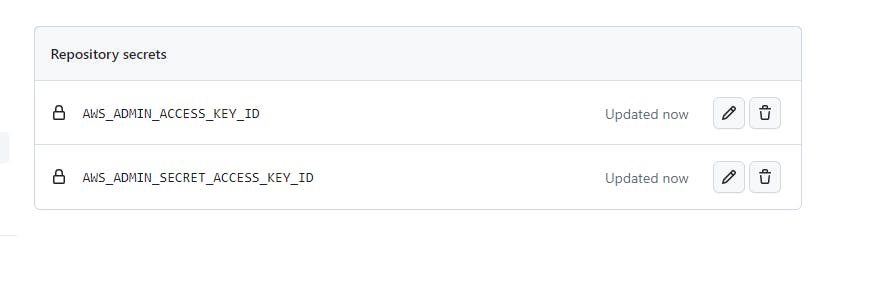
Include your secret access key and AWS access key here.
Note: Verify that the secret "Name" is the same in the GitHub action file and in GitHub.
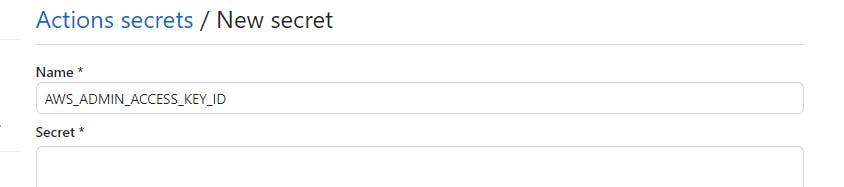
It will seem as below after inserting both secrets ;
Step 8: Trigger GitHub Action CI/CD
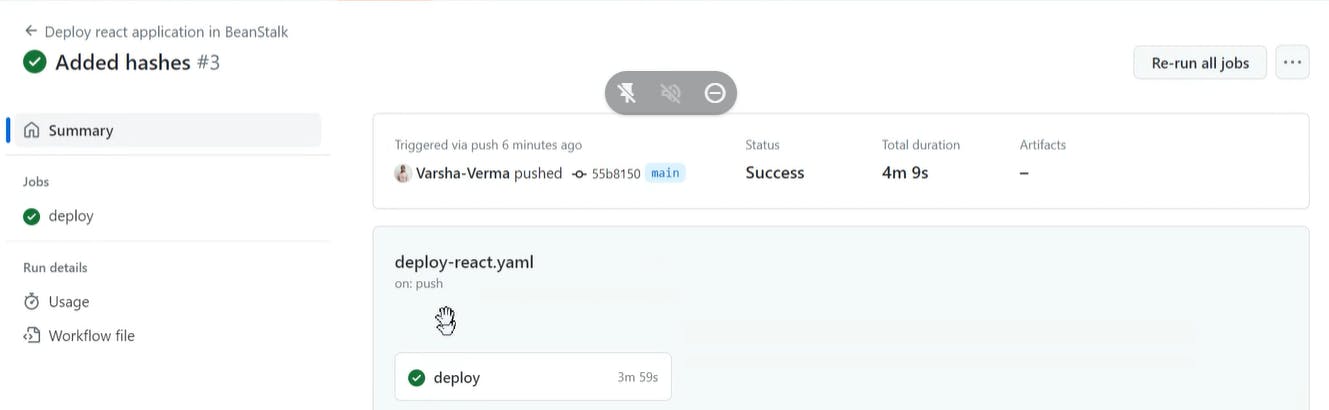
🎯Create a repository in GitHub and Push all the codes under the "AWS_Elastic_BeanStalk_On_EC2" folder to the "main" branch.
We've set up our GitHub Actions to automatically trigger if someone "push"es a commit "on" the "main" branch, so this will happen automatically.
Extra_Mile: If you don't want an automatic trigger and prefer to perform it manually, add a
workflow_dispatchevent trigger to your workflow file and remove thepushevent trigger. You can manually trigger the process from the GitHub UI using theworkflow_dispatchevent.
Step 9 : Checking our Achievement
Check the ElasticBeanstalk Link (you received in Step 6) and you will notice that the sample application has been changed with our React-JS web-application, and we can see it because nginx is serving the request. 🎉🎉🎉
Conclusion :
🎉🎉 Congratulations on successfully finishing your CI/CD process with GitHub Actions and deploying your React application to AWS Elastic Beanstalk! You've demonstrated your worth by developing a streamlined and effective deployment procedure that will make the DevOps community proud. You've not only made your development workflow more efficient by leveraging the power of new tools and technologies, but you've also prepared the road for a scalable and stable application that can adapt to any situation. So sit back, enjoy your efforts, and be ready to tackle the next challenge! 🥂